MID TWELTH CENTURY FRENCH DOOR STRAPPING.
FROM THE CLOISTERS MUSEUM
“Pair of Doors with Hinges and Reinforcing Bands”
From the Church of Saint-Sulpice at Coulange’, Near Tours
These heavy doors were originally fixed to the stone doorway now
Installed in the Romanesque Hall. The Iron work served both to
decorate and secure the church of Saint-Sulpice in Coulange which was
placed under the authority of a local monastery shortly before 1150.”
I decided to recreate part of the left upper half of this door which is on display at the Cloisters Museum in New York City. The door itself was too big to fully realize. The door itself is twelfth century from Touraine France. The style is evocative of many doors of the time.
Strap hinges, while lovely and decorative did serve a purpose in their original form. The earliest surviving strap hinges date back to eleventh century France. The were used to to allow the door to swing, hold the various planks that made up the door together and to keep the door perpendicular to the door opening. At the time there were no sheets of wood. So like the feast tables and other structures of any width, wood planks would be banded to together to form whatever structure was needed, in this case a door.
Most of these kind of doors would have been found on cathedrals, churches, abbeys and the like in the middle ages. Ironsmiths discovered an entirely new form of ornamentation in the construction of these doors.
For many centuries iron or wrought iron was used to make all things metal. By the thirteenth century coal forges were being powered by large bellows allowing for higher heating temperatures than the earlier forges which would barely get above 700 degrees. At higher heats the iron would mix with the coal from the forge, introducing the carbon into the iron thus creating a form of mild steel. Steel in its purest form is iron mixed with carbon. This steel could be worked and bent and scrolled in ways the earlier wrought iron could not. Wrought iron tends to be fibrous in structure, it can have very brittle grains and splits when trying to do intricate curves. This new steel, which we now refer to as mild steel could hold its shape when being worked and was more durable when finished as well.
A quick word on steel. Steel is measured by how much carbon is in the steel. Steel as a classification that works on a percentage up to and past 1.0%. Very high carbon steel which we would use to make a blade could be as high as 1075 or 1095 (10 being the classification for steel and .75% or .95%) which would be a very high carbon content. The steel I am using for this project we call 1017. It has very low carbon content much like the early steel from the middle ages. Just enough carbon to keep its shape and be strong, but not nearly enough to hold an edge on a knife.
I chose to use two and half inch by three sixteenth 2 ½”x 3/16” flat stock to recreate the designs on the door. It’s closest to the size that was used and the correct thickness. It is 1017 mild steel. The square head nails were also made from three eighth inch (3/8”) square stock, also 1017.
 I made a second trip up to the Cloisters to do accurate measurements. I got a number of interesting looks from the other museum goers but the staff didn’t seem to care. One thing I decided was that the door itself was about nine times bigger than I had remembered so I decided to do a smaller detail of the strapping on the top left in half scale, to make it more manageable for the event.
In period, the smith would have taken the steel billet, which would have had some thickness and some length and had his apprentice hammer it to a uniform thickness and length. The key to moving flat stock in curves and none linear shape is keeping the metal very hot. Steel generally has a mind of its own and will go where it wants to go. You as the smith have to force it where you want it to go. Flat stock has a tendency to roll on itself while curving. This means that the straight piece of steel would rather not curve so it will buckle at the curve point or twist. To combat this, you have to curve and flatten without deforming the steel itself. To do this you use a a heavy wooden mallet. This allows you to flatten the steel without deforming the face with hammer marks and also not thinning the steel anymore than it is, which can happen if you use a steel hammer.


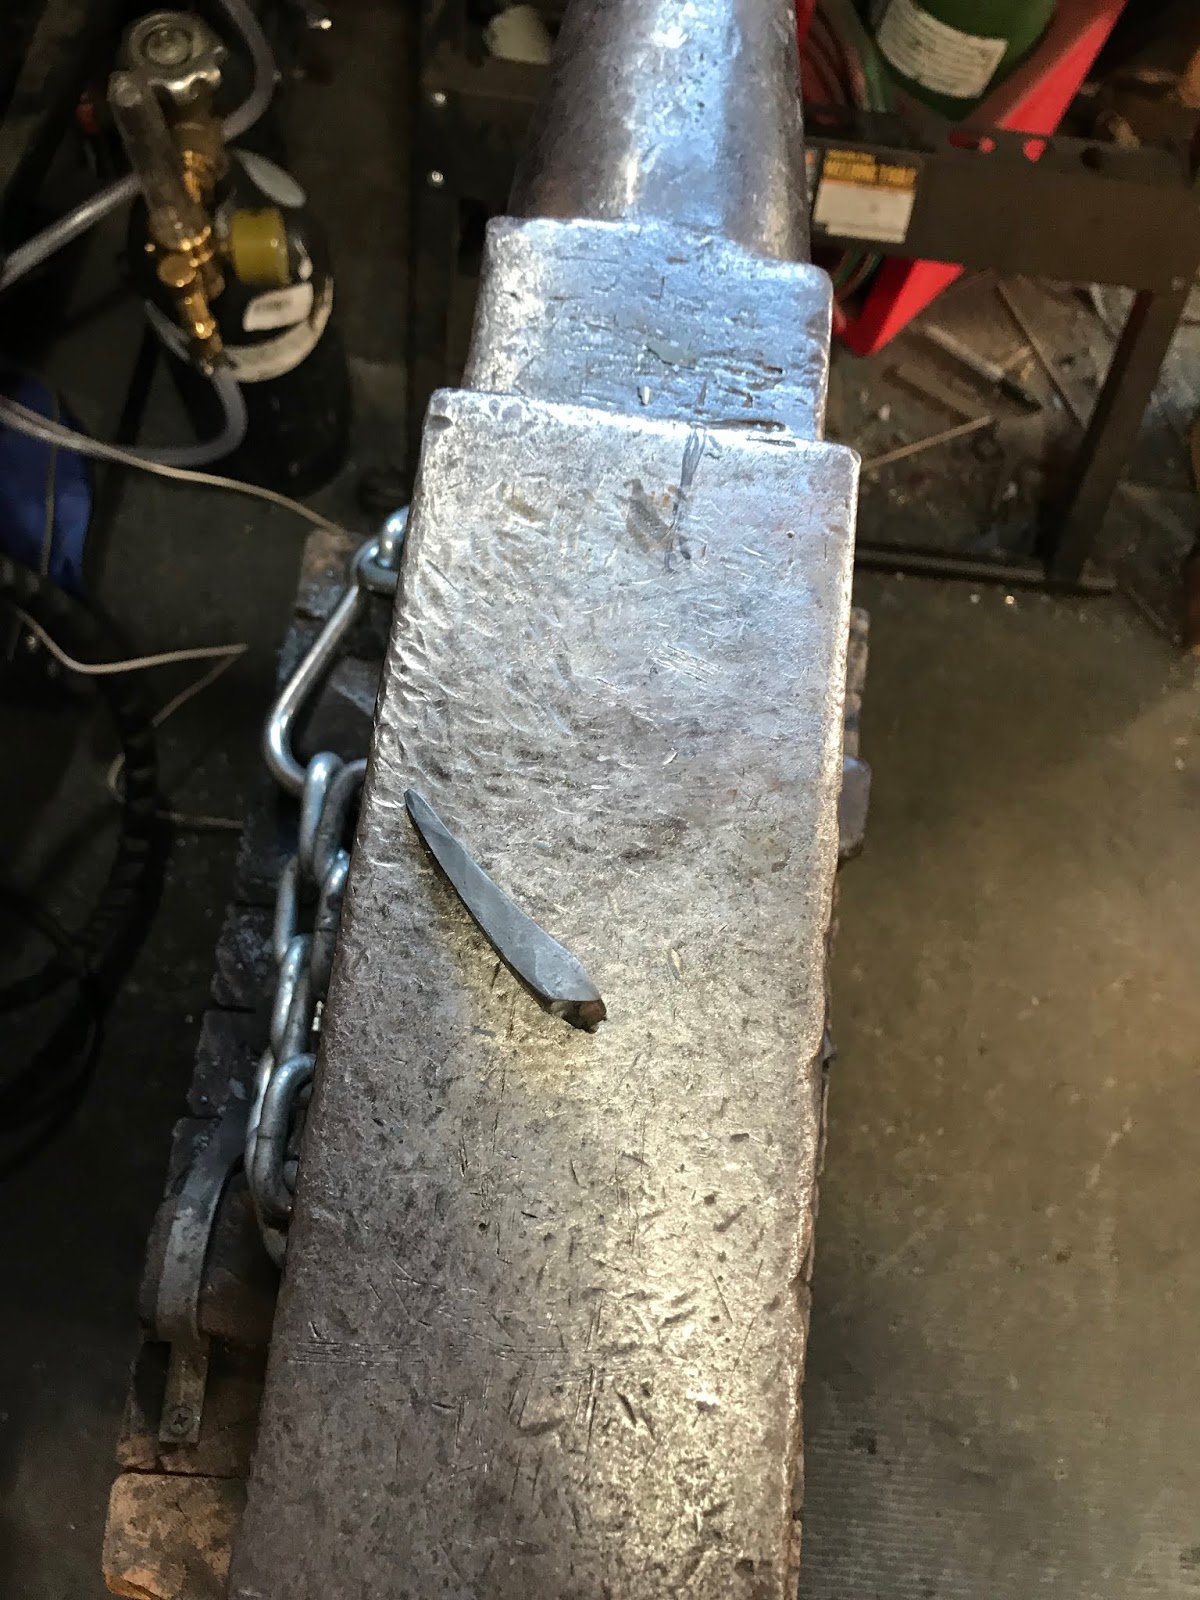
 The next challenge are the cuts and bends. Cutting steel requires chiseling the hot steel by hand, then using a hot cut wedge to widen the cut to the desired opening. Once you have your basic cuts, you hand hammer and draw out the various points and curves. It’s important not to let the steel get too thin as you draw it out. These pieces are all rather long, so I measured for the full length which allowed me to cut and draw out, without having to lose much mass. When I draw out a piece of steel, lets say for a ladle or a roasting fork, I estimate how much I am drawing out (hammering and thinning) and account for that in the size of the stock. Drawing out can add anywhere from one to a few inched to over all length but you lose mass. With the straps I did not want to lose mass, I wanted to have a uniform thickness. So I was careful not to go short on the measurements. Making the bends for the horseshoe piece took a lot of time and muscle as well as hammers. I broke one steel hammer and one wooden mallet creating the curves. Once I finished the final curves and filing down rough patches, I coated the whole thing with bees wax to seal it and protect it from rusting. Bees wax has been used as a sealant for metal for centuries.


The square head nails which were very common at the time, I made from three eights (3/8”) mild square stock. The key to making nails is forming the head so it not too big and not too small. This takes a lot of practice even though it sounds easy enough. Each nail head has a bevel which is hand hammered. Once the nails are finished, you must heat them to a critical temperature and water cool the heads. This allows the nail head to hold up to hammering while the unquenched spike is soft enough to not to shatter on impact. There were parts of the horseshoe that were not perfectly flat. I did not have a large enough flat steel surface to lay it out hot so I had to heat it up and hammer it by eye to make it evenly flat. This led to some raised parts which made nailing it to the board slightly challenging.


This project was an interesting one for me as I usually concentrate on the Norse era and making things that are useful. This was the first time I took on a project that was mostly decorative. It was fun and I got to utilize all of my blacksmithing skills on this project.


