
15th Century Candle Stand
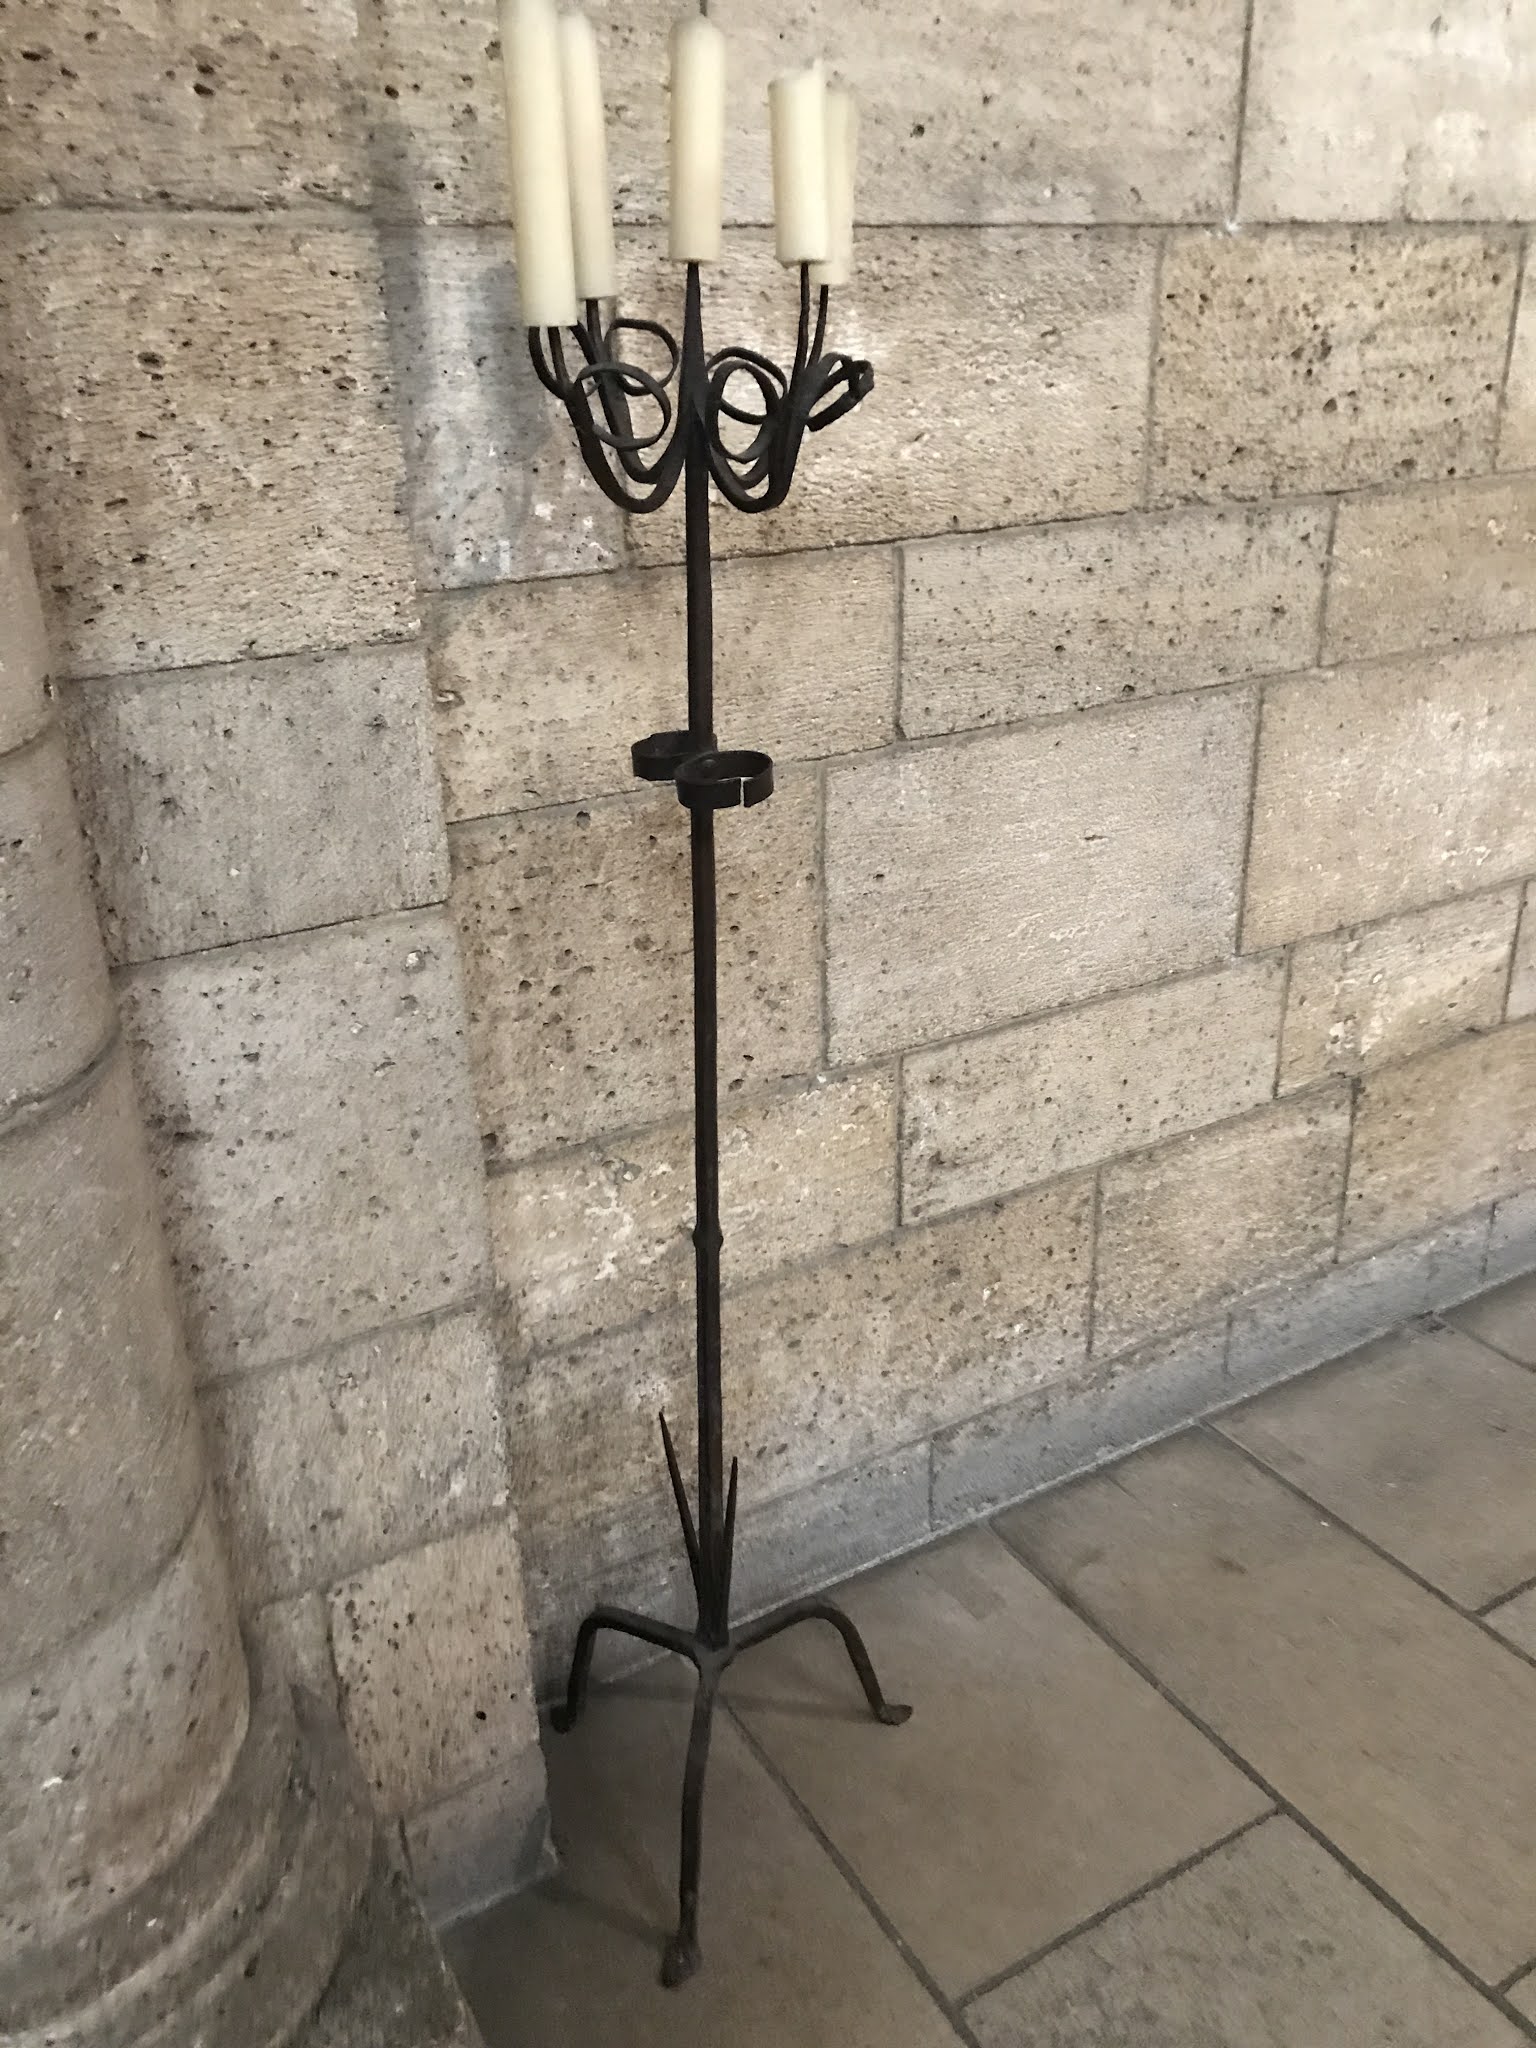
The project I chose for this year’s Crown’s A&S championship is a candle stand from the 14th to 15thCentury which is on display at the Metropolitan Museum of Art’s cloisters collection. It’s a piece I have wanted to recreate for quite some time and I thought this would be a fine time to do that. This project will also serve as my Master work within the East Kingdom Blacksmiths Guild.
The piece, called the
The advent of the large hand Bellows forge in 13th century created a much hotter fire which in turn introduced carbon from the coal into the wrought iron creating the firs steel.

The steel I chose for this project is what is referred to as 1017 mild steel. Steel is for the most part classified by it’s carbon content, which makes it very easy for blacksmiths and bladesmiths to choose the steel best suited to a particular project. The number is actually a classification number and a percentage.
“10” is the classification for most tool steel. There are some other variants but they are not relevant to the discussion.
“17” is actually .17 or 17% meaning out of 100% carbon this steel had 17%. 100% carbon would make the steel extremely hard and extremely brittle. So our 1017 steel has just enough carbon to make it more malleable than wrought iron, which has no carbon content at all, but not enough carbon to be consider good blade steel.
Blade steel usually starts at around 1075 and goes up from there to 1095 which is quite hard. Again there are other high carbon steels which do not follow the “10” nomenclature but they are not germane to this project either.
The construction of this particular candle stand follows a time-tested means of construction. The various legs and arms are attached either by being forge welded or riveted. I made a numner of field trips to the cloisters to take measurements. Each trip brought back another piece of new information. I had originally thought the cener post was made from half inch stock (the smiths would have drawn these out by hand from a larger steel billet, so these numbers are only guestimates). However upon my third and final trip before beginning the actual work I realized that the center post is actually made from ¾” square stock, which made sense based on the need for splitting ten inches on the bottom for the spikes that stick up.
Two choices I made for this project were going to make this a very real learning experience. For starters the thickest stock I had every worked with prior to this project was half inch. Secondly and more challenging I chose to make this using a coal forge instead of the usual propane forge. Partly for practical reasons as it most of this will not fit in the propane forge, but more importantly as a way to do this project in an even more period fashion than in the past.
It took me about a month to build the coal forge between other work and commitments but I was quite happy with the end result.

Along with the coal forge various coal forge tools needed to be made for the coal forge, so I made a coal rake, a coal shovel and a watering can in the coal forge.


I decided before I started that I would turn this project into a vide tutorial as well so I filmed the whole thing.
So on day one my plan was to cut the main shaft to size given my dimensions and cut photos.

Confident in my calculations I fired up the forge and set the fifty inch piece of ¾” steel into the fire. My plan was to draw out the top taper first.
The first thing I noticed was that the initial heat up took longer than the propane forge and consumed more material (charcoal).
Oh and , so while we are on the subject, technically , I am running a Charcoal forge. Charcoal as we know comes from trees and Bituminous Coal comes from the ground. Charcoal barely smokes and can keep burning until you dowse it, coal needs to be managed constantly and smokes like crazy. For me, being in Brooklyn charcoal was the only choice.
Back to our show.
The other difference is you can’t see the color of the steel as it heats up when it is buried in the coal, but you don’t want to move the coal to see it. It took some practice to set the steel in the fire in a way where I could monitor the color. That being said once the forge was at temperature, the heating time took about the same as the propane forge.
The main issue was the very long, and very heavy hunk of steel. I didn’t realize how different trying to move this much steel would be. The first few heats it didn’t feel like I was moving it at all. Eventually like all heated steel it began to move and after about an hour and half I had the point drawn out to the requisite estimated ten inches. I was quite proud of myself.

I then turned my attention to the other side where my plan was to hand split the bottom, draw the to upturned spikes and create an integral rivet on the bottom which will go through a hole in the legs. It was at that moment, it hit me, my measurements were off by ten inches. I didn’t take into account the extra ten inches for the spikes in my cut measurement, which meant I had to start all over again. Luckily this steel only comes in twenty foot pieces so starting over is not a problem just a pain.
However starting over did allow me to rethink the process and occurred to me it is going to be easier to cut and draw out the spikes before the top point making this thing even longer. So that is just what I did.


