Tuesday, August 15, 2023

15th Century Cabinet Hinge

                                                     15th Century Hinge Project

Lord Brandr Aronsson


This is a project I have wanted to tackle for quite some time, but I never had the time to devote to it. This is a 15th century Oak cupboard from either the Netherlands or France and it currently resides in the Metropolitan Museum of Art’s Cloisters Collection. I have been fascinated by the hand forged hinges on this piece for years. It is a multi-piece project. First you have cross hinges which make up the center hinge on each door.  Second will be the decorative arms on top and bottom of each door, which I believe has a whole story of its own, but we will get into that for part two of the project. 


The center crossed hinge are made up two 2” x 3 1/16” (roughly) of flat mild steel. Mild steel is iron with just enough carbon to be able to form shapes without splintering like wrought iron but not enough carbon to hold an edge for a blade.


I spent a lot of time trying to figure out the process of just how the Master Smith who created these did it. 


My first attempts which seemed sound at the time ended in epic failures. My first thought was that he drew out both ends and created the hook before doing anything else. Then I thought he bent it in on itself and created the curves after that. So, I attempted that. 


I did not get quite the result I had seen in my head.  


Next, I thought of different technique where you draw out the ends like the first attempt but instead of trying to fold sideways, fold it over on itself, then use the hammer and heat to flatten it into place, then curve the arms. 

Here is the result of that. 


Epic fail number two. By this point I was getting rather frustrated at what in my mind should have been time consuming but ultimately doable project. 


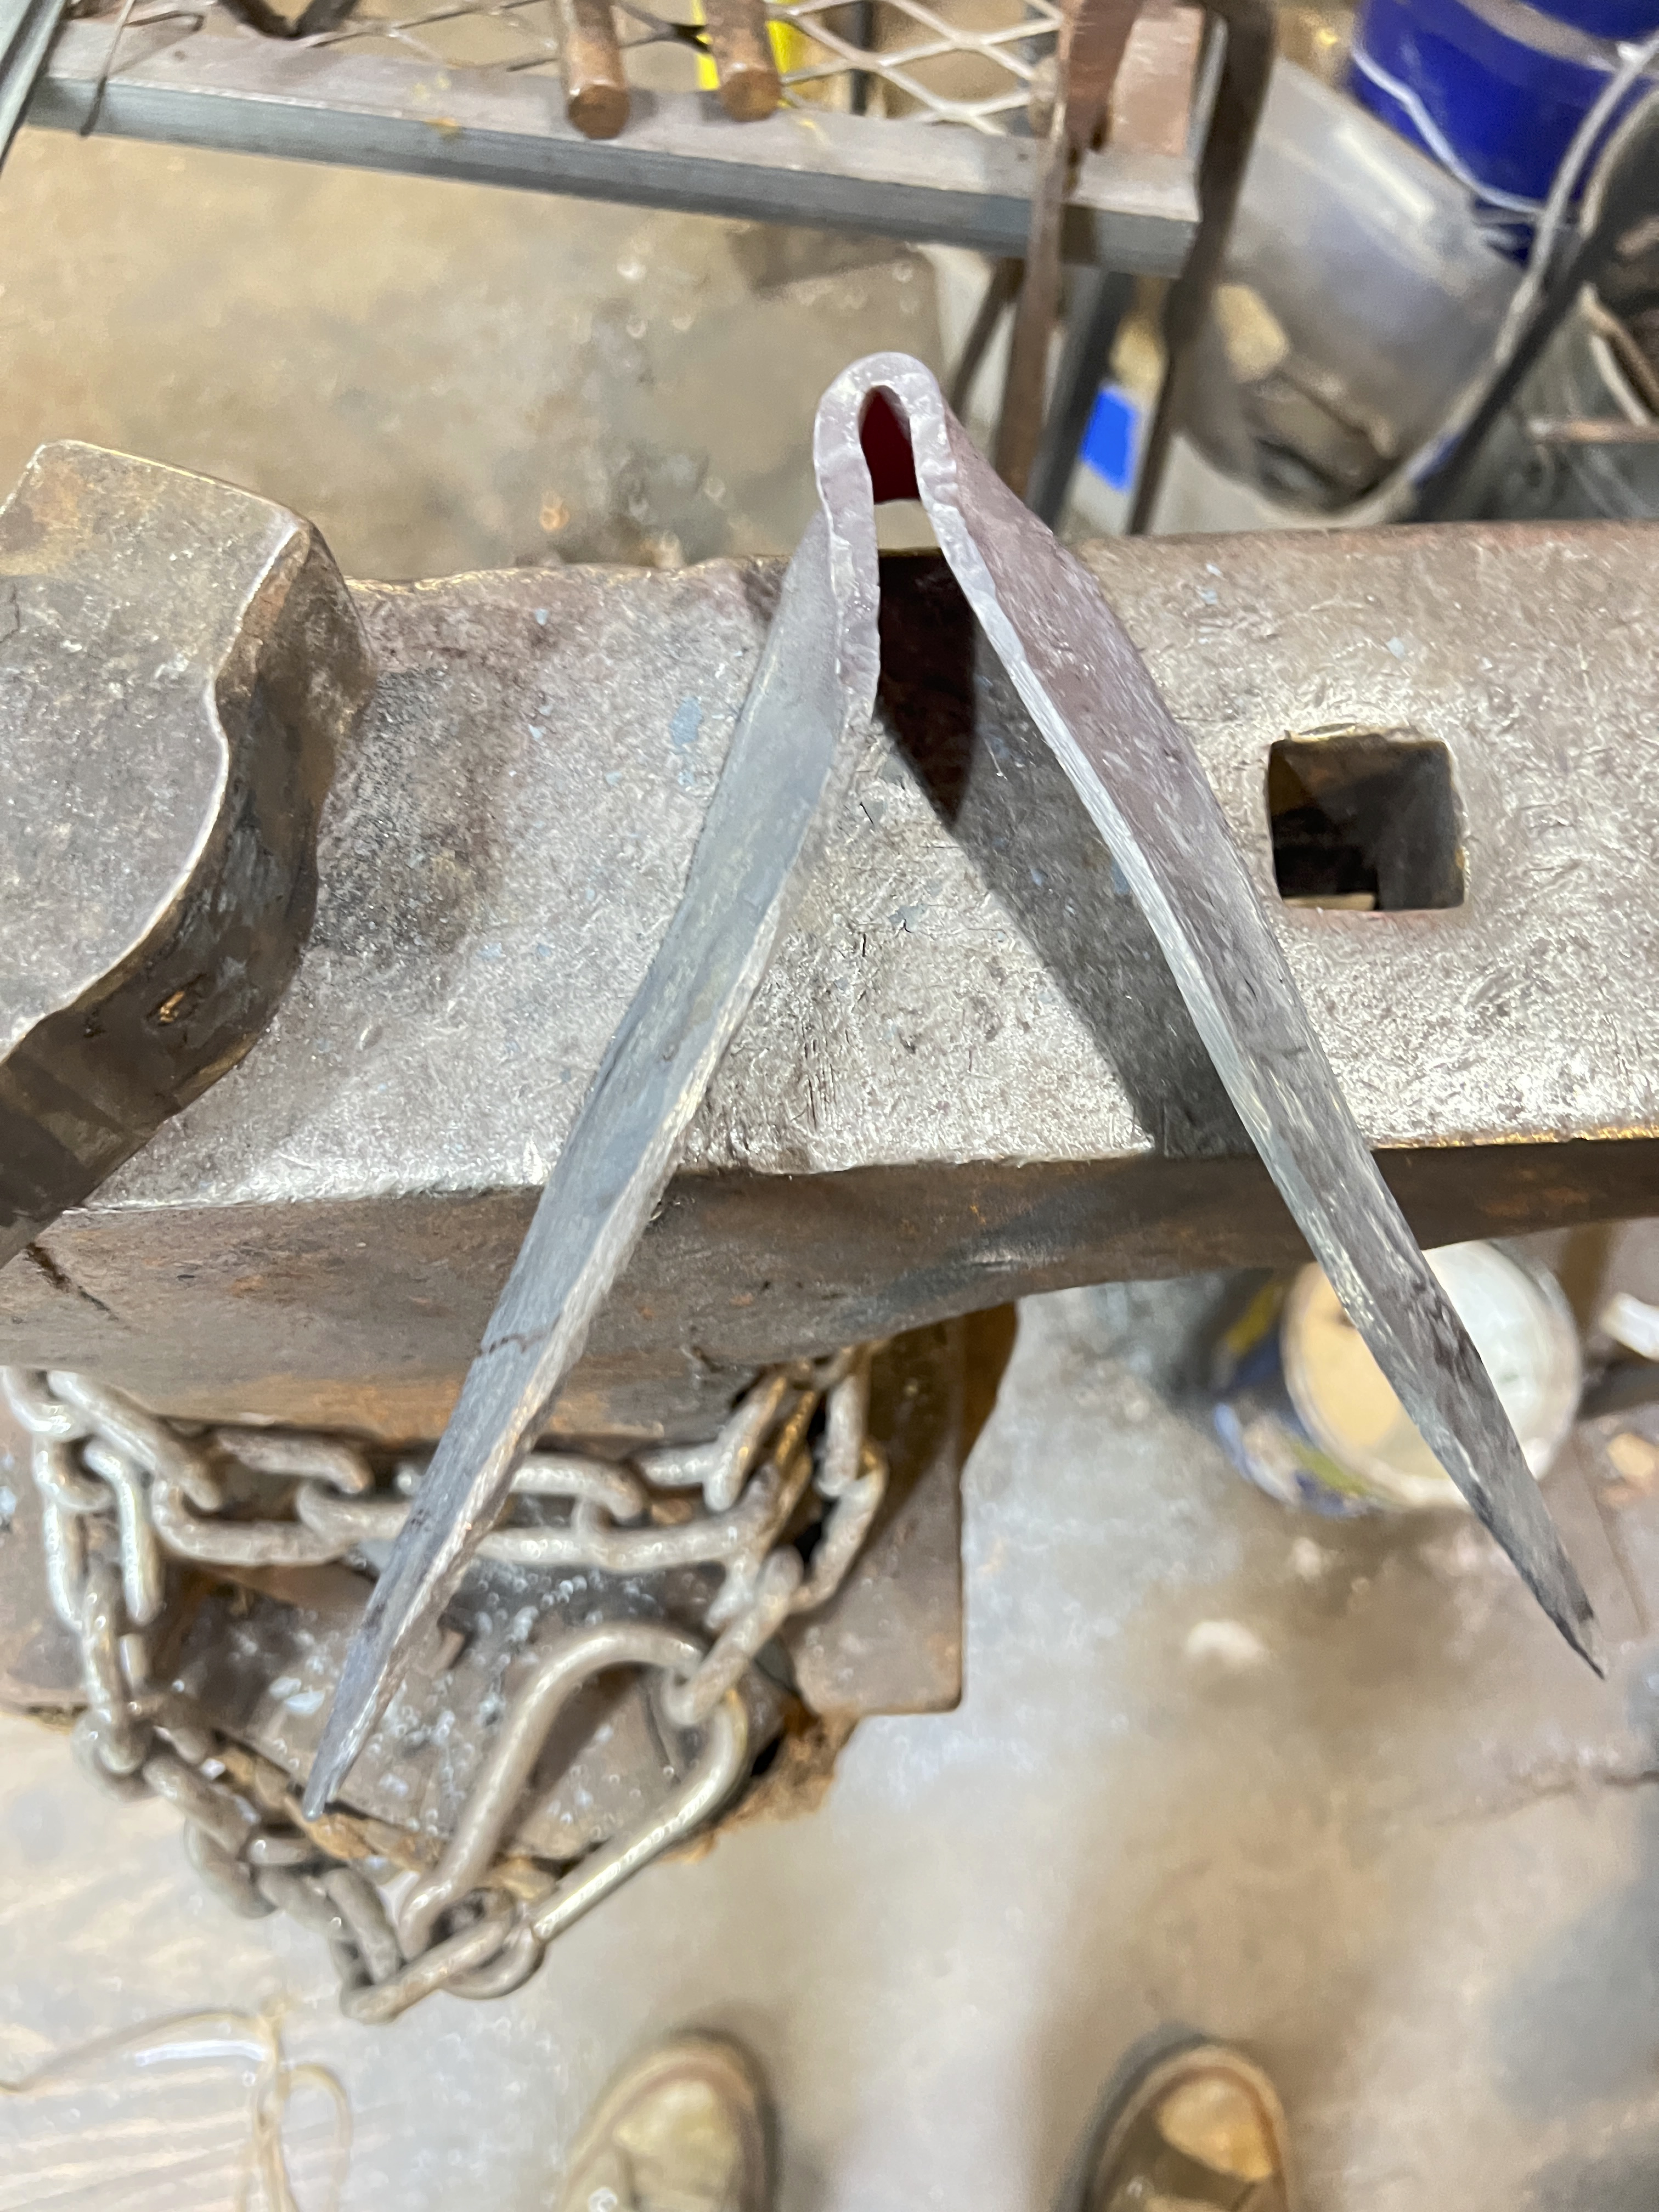
So, I took a breather and sat back down and looked at my myriad of photos of the hinges. Then the light bulb over my head went off. Sometimes the most obvious and easiest solution is the answer when you stop and think. So I took a ten-inch piece of 3/16”  x 2” flat stock and made a six inch cut with a hack saw down the middle of the piece leaving four inches for the flat and the hinge, and voila that is how they did it. 

The first thing I did was to fuller the hinge end (Fullering is the process of expanding and shrinking the metal at the same time) to create the right size mass for the hinge, which will be hot rolled around the hinge pin for a perfect fit. 


Once the tail end was the width and length I wanted. I turned it around and started working each of the arms down to the right size point and then creating the curved end.


Once the curved ends were formed, then came the hard part. Due to the thickness of the material, creating the recurve took some muscling and coercing of the steel, but eventually I made it obey my will, (there was some colorful language involved) and the recurve was formed. 


Making these types of curves on flat stock is not as easy as it seems, as the steel really does not want to bend that way. So, there is a technique for fooling the steel. You heat the metal and hit the opposite direction almost folding it in half. Once that is done you heat it again and then using the anvil you flatten the bend and that gives you most of your curve. This takes a number of heats as you have to deal with the excess steel that builds up around the curve as seen in the previous failed attempt. However, the technique worked just fine here and I got both halves of the hinge drawn out, and cleaned up with a hot rasp. 


The next step was to create the actual hinge. Hinge making is a basic blacksmithing skill which is something all blacksmiths learn early on. The hinge design on this project is a standard slip pin hinge. 


The process involves heating the flat (and hopefully you have given yourself enough room to create the hinge roll.) You start with the face of the hinge facing down so that as you hammer down and across the steel you are creating a cup that will be facing up once you flip the piece and then that creates your hinge roll. 


Once you have created matching rolls on each half of the hinge, you mark it for cutting. One side will have a center loop and the other side will have a space. It’s always a good idea to leave a little more room in the space so the hinge can swing freely.

Using a hack saw, I hot cut the pieces. Cutting away for the center loop is easy.  Cutting away the center is a little more involved. You have to cut your slits then heat it up and using a hammer and chisel hammer the center piece out of place to ninety degrees. Then you can use the saw to cut off the excess. 


Once that is done, you can fit the to halves together. You might need to do a little adjusting. With these it was just a little tight. So I put the split back into the forge and heated it up.
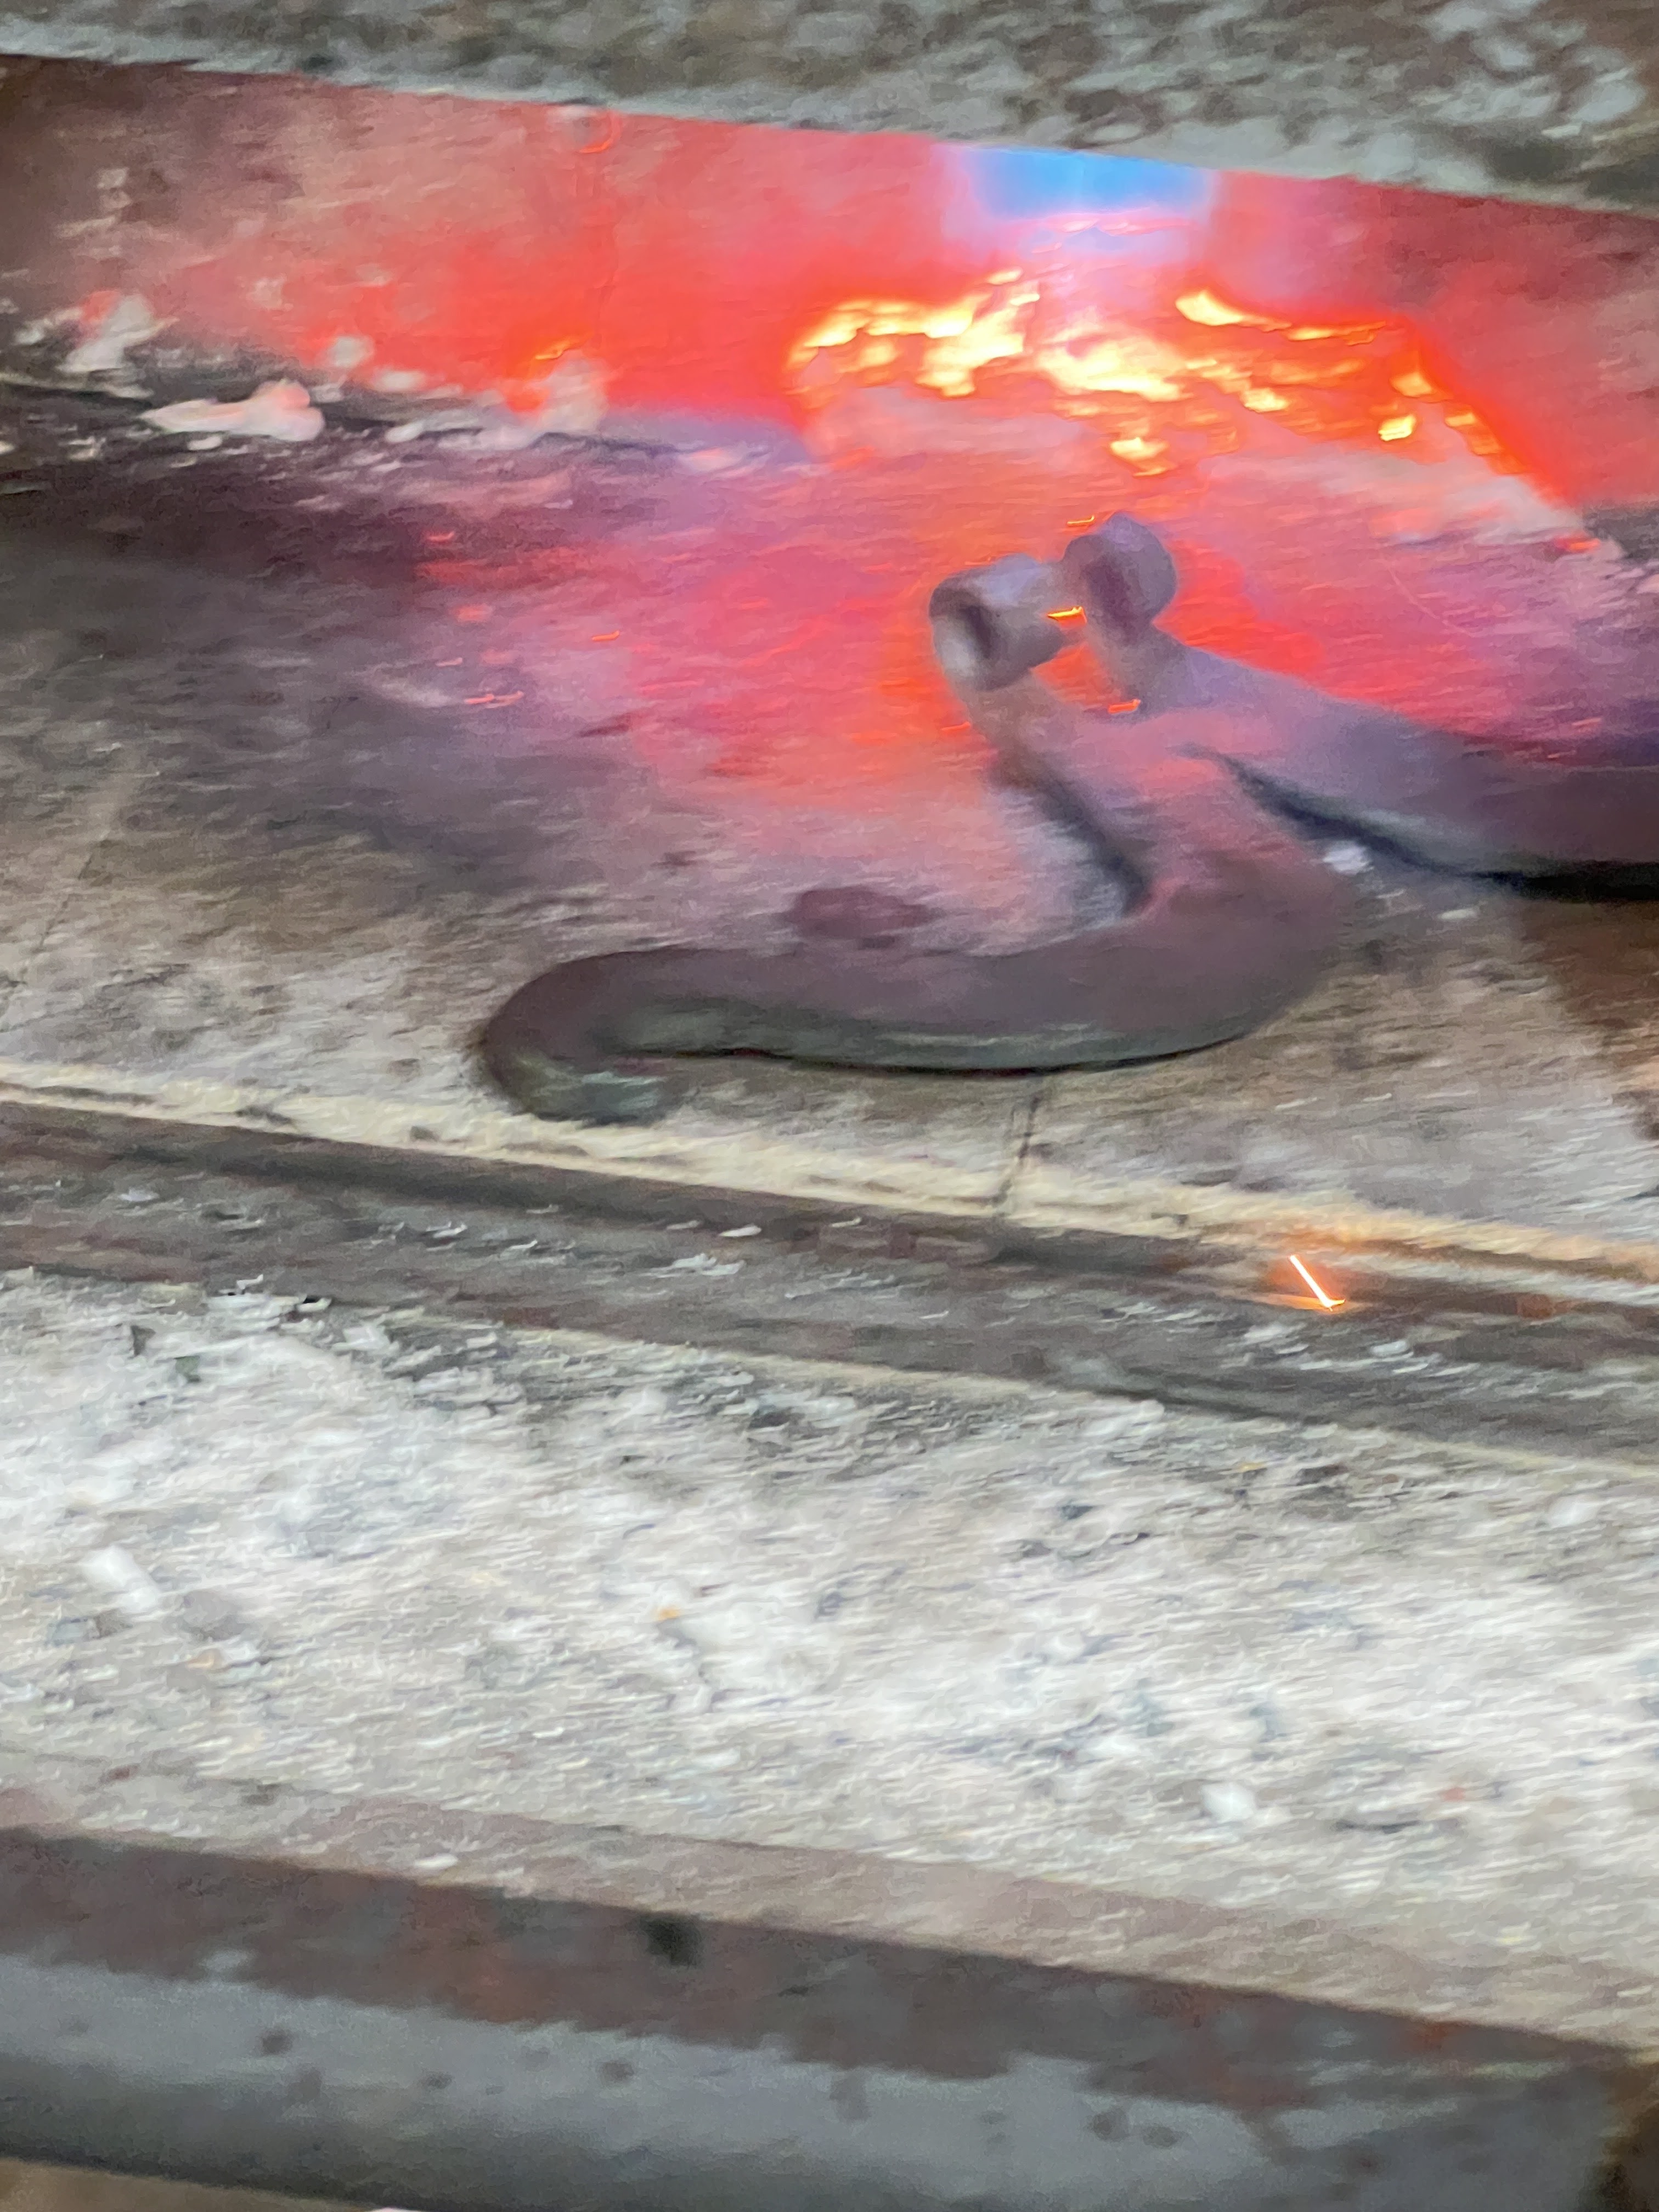


Using a wooden mallet so as not to deform the metal, I tapped it into place, and it made a perfect fit. 

The next thing to do was to drill the holes for the nails and forge a pin for the hinge. 


The last thing to do before mounting the bracket was to treat the entire piece with beeswax to keep it sealed. 


This project was a lot of fun. It was also quite challenging at times, and I had to utilize some new techniques to create the final piece. Considering that a hinge in general is a fairly utilitarian object, its amazing how much we rely on them Without hinges,  doors don’t open, trunks don’t open and shutters don’t open. Decorative hinges are a luxury and these particular ones were most definitely custom work from the local blacksmith. 


The next part of the project will be the upper hinge and arm support. 


What I find most intriguing about this part of the set is that after many hours of scrutiny it is clear to me that the three sections of the design were added over time with the different sections having been brazed onto the existing piece.


However, that is for another time.


Provenance – The Metropolitan Museum of Art, Cloisters Collection

Bequest of Susan Vanderpool Clark 1967 (67.155.9)


Thursday, December 10, 2020

15th Century Pricket Candleabra - Candle Stand


15th Century Candle Stand


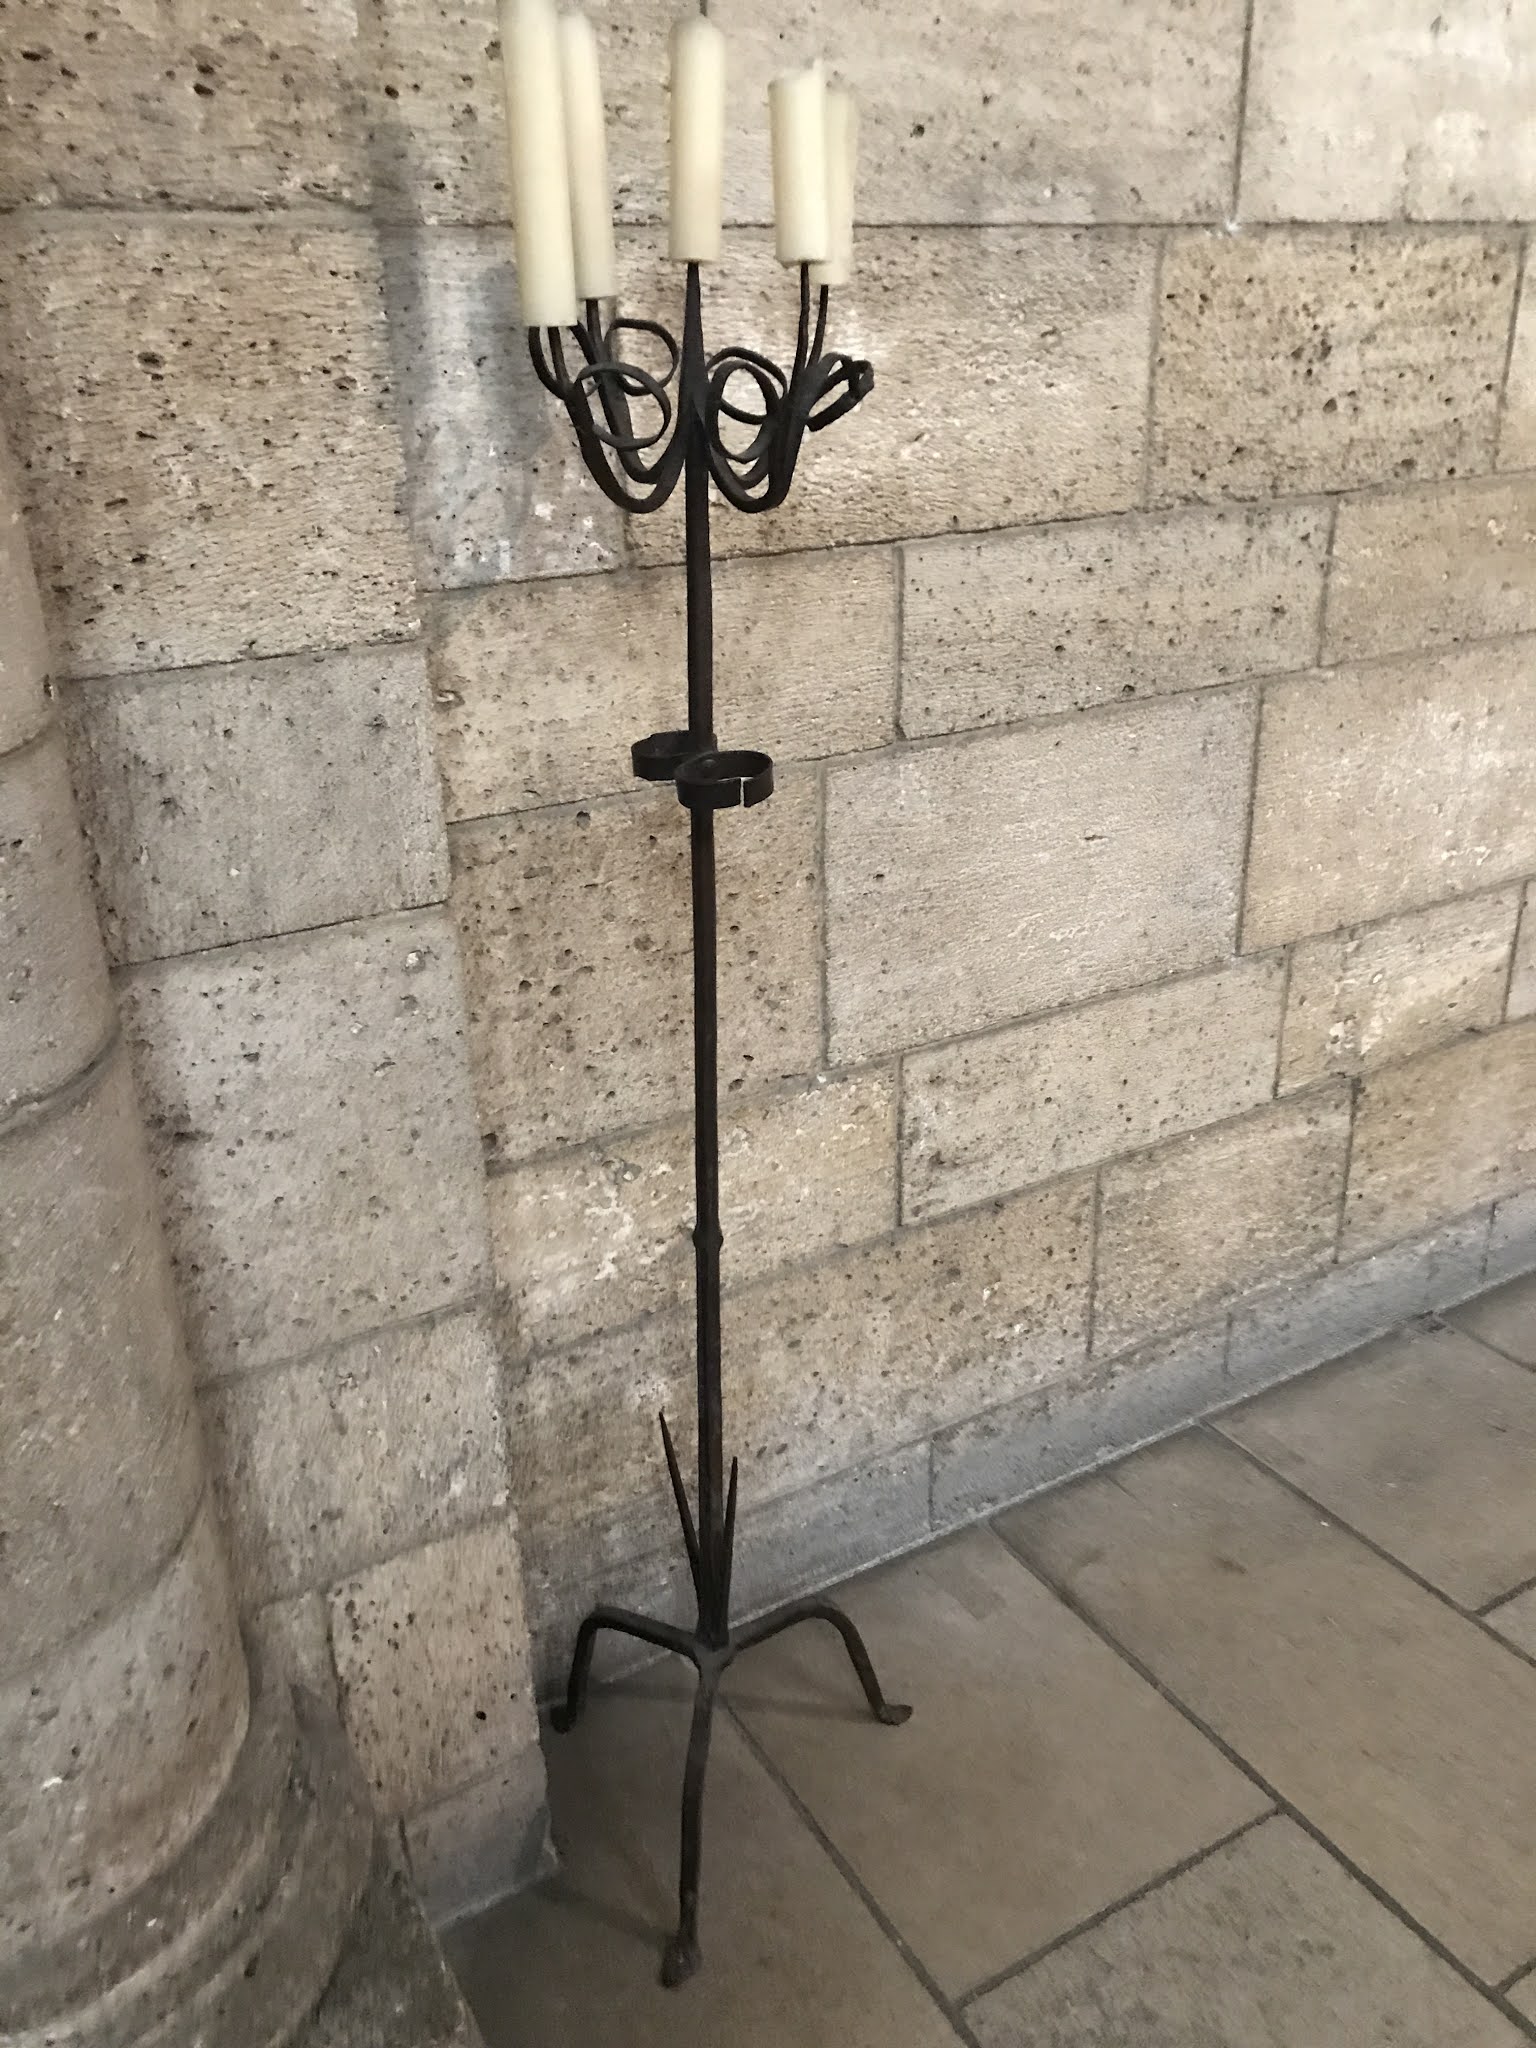
The project I chose for this year’s Crown’s A&S championship is a candle stand from the 14th to 15thCentury which is on display at the Metropolitan Museum of Art’s cloisters collection. It’s a piece I have wanted to recreate for quite some time and I thought this would be a fine time to do that. This project will also serve as my Master work within the East Kingdom Blacksmiths Guild. 


The piece, called the 


Pricket Candlestick, itself is part of the Cloisters Collection of 1938. There is not a lot of provenance for it so the estimate is that it is from somewhere in Europe from the 14th or 15th century. The medium is listed as Iron and iron alloy,  which would be accurate as a an overall category. However, by the 14th and 15th century almost all iron had some carbon content in it which makes it fall into the steel category. 


The advent of the large hand Bellows forge in 13th century created a much hotter fire which in turn introduced carbon from the coal into the wrought iron creating the firs steel.


The steel I chose for this project is what is referred to as 1017 mild steel. Steel is for the most part classified by it’s carbon content, which makes it very easy for blacksmiths and bladesmiths to choose the steel best suited to a particular project. The number is  actually a classification number and a percentage. 

“10” is the classification for most tool steel. There are some other variants but they are not relevant to the discussion. 

“17” is actually .17 or 17% meaning out of 100% carbon this steel had 17%. 100% carbon would make the steel extremely hard and extremely brittle.  So our 1017 steel has just enough carbon to make it more malleable than wrought iron, which has no carbon content at all, but not enough carbon to be consider good blade steel. 


Blade steel usually starts at around 1075 and goes up from there to 1095 which is quite hard. Again there are other high carbon steels which do not follow the “10” nomenclature but they are not germane to this project either. 


The construction of this particular candle stand follows a time-tested means of construction. The various legs and arms are attached either by being forge welded or riveted. I made a numner of field trips to the cloisters to take measurements. Each trip brought back another piece of new information. I had originally thought the cener post was made from half inch stock (the smiths would have drawn these out by hand from a larger steel billet, so these numbers are only guestimates). However upon my third and final trip before beginning the actual work I realized that the center post is actually made from ¾” square stock, which made sense based on the need for splitting ten inches on the bottom for the spikes that stick up. 


Two choices I made for this project were going to make this a very real learning experience. For starters the thickest stock I had every worked with prior to this project was half inch. Secondly and more challenging I chose to make this using a coal forge instead of the usual propane forge. Partly for practical reasons as it most of this will not  fit in the propane forge, but more importantly as a way to do this project in an even more period fashion than in the past.  


It took me about a month to build the coal forge between other work and commitments but I was quite happy with the end result. 


Along with the coal forge various coal forge tools needed to be made for the coal forge, so I made a coal rake, a coal shovel and a watering can in the coal forge. 


I decided before I started that I would turn this project into a vide tutorial as well so I filmed the whole thing. 


So on day one my plan was to cut the main shaft to size given my dimensions and cut photos. 


Confident in my calculations I fired up the forge and set the fifty inch piece of  ¾” steel into the fire. My plan was to draw out the top taper first. 


The first thing I noticed was that the initial heat up took longer than the propane forge and consumed more material (charcoal). 


Oh and , so while we are on the subject, technically , I am running a Charcoal forge. Charcoal as we know comes from trees and Bituminous Coal comes from the ground. Charcoal barely smokes and can keep burning until you dowse it, coal needs to be managed constantly and smokes like crazy. For me, being in Brooklyn charcoal was the only choice. 

Back to our show. 


The other difference is you can’t see the color of the steel as it heats up when it is buried in the coal, but you don’t want to move the coal to see it. It took some practice to set the steel in the fire in a way where I could monitor the color. That being said once the forge was at temperature, the heating time took about the same as the propane forge. 

The main issue was the very long, and very heavy hunk of steel. I didn’t realize how different trying to move this much steel would be. The first few heats it didn’t feel like I was moving it at all. Eventually like all heated steel it began to move and after about an hour and half I had the point drawn out to the requisite estimated ten inches. I was quite proud of myself. 


I then turned my attention to the other side where my plan was to hand split the bottom, draw the to upturned spikes and create an integral rivet on the bottom which will go through a hole in the legs. It was at that moment, it hit me, my measurements were off by ten inches. I didn’t take into account the extra ten inches for the spikes in my cut measurement, which meant I had to start all over again. Luckily this steel only comes in twenty foot pieces so starting over is not a problem just a pain. 


However starting over did allow me to rethink the process and occurred to me it is going to be easier to cut and draw out the spikes before the top point making this thing even longer. So that is just what I did. 

Tuesday, November 17, 2020

Coal Forge

 HOW I CAME TO MAKE A COAL FORGE AND THE JOURNEY THERE IN.


I had always been reluctant to build a coal forge here in Brooklyn for many reasons, not the least of which I would rather not have FDNY visiting my house two or three or ten times a week due to the smoke from a traditional coal forge. Also its messy and unlike a propane forge, you can't just turn it off when your down and go into the house.  These were the main reasons I shied away from building one. 

Fast forward to Spring  2020, and I made my decision that this year my Crown's A&S Competiion and Blacksmith Guild Master work would be a candle stand which I have studied for a number of years on display at the Metropolitan Museum of Art Cloisters collection. 

Very quickly it became apparent that this project was not going to fit into my propane forge, even the new 3 burner wasn't wide enough. So the time had come to bite the bullet and construct a workable coal forge.  In process of researching the different designs from tiny BBQ grill forge to use period forges with hand made bellows, I came to the conclusion that what needed to make was somewhere in between. I also decided that if I was going to build a coal forge then I was going to use it for all of my SCA and period work, and save the propane forge for production work. That decision colored how went about the process. Originally I was going to use a Brake Rotor that I had found on the side of the road and kept for just this eventuality, as brake drums and brake rotors historically make fine fire pots for make shift coal forges. 

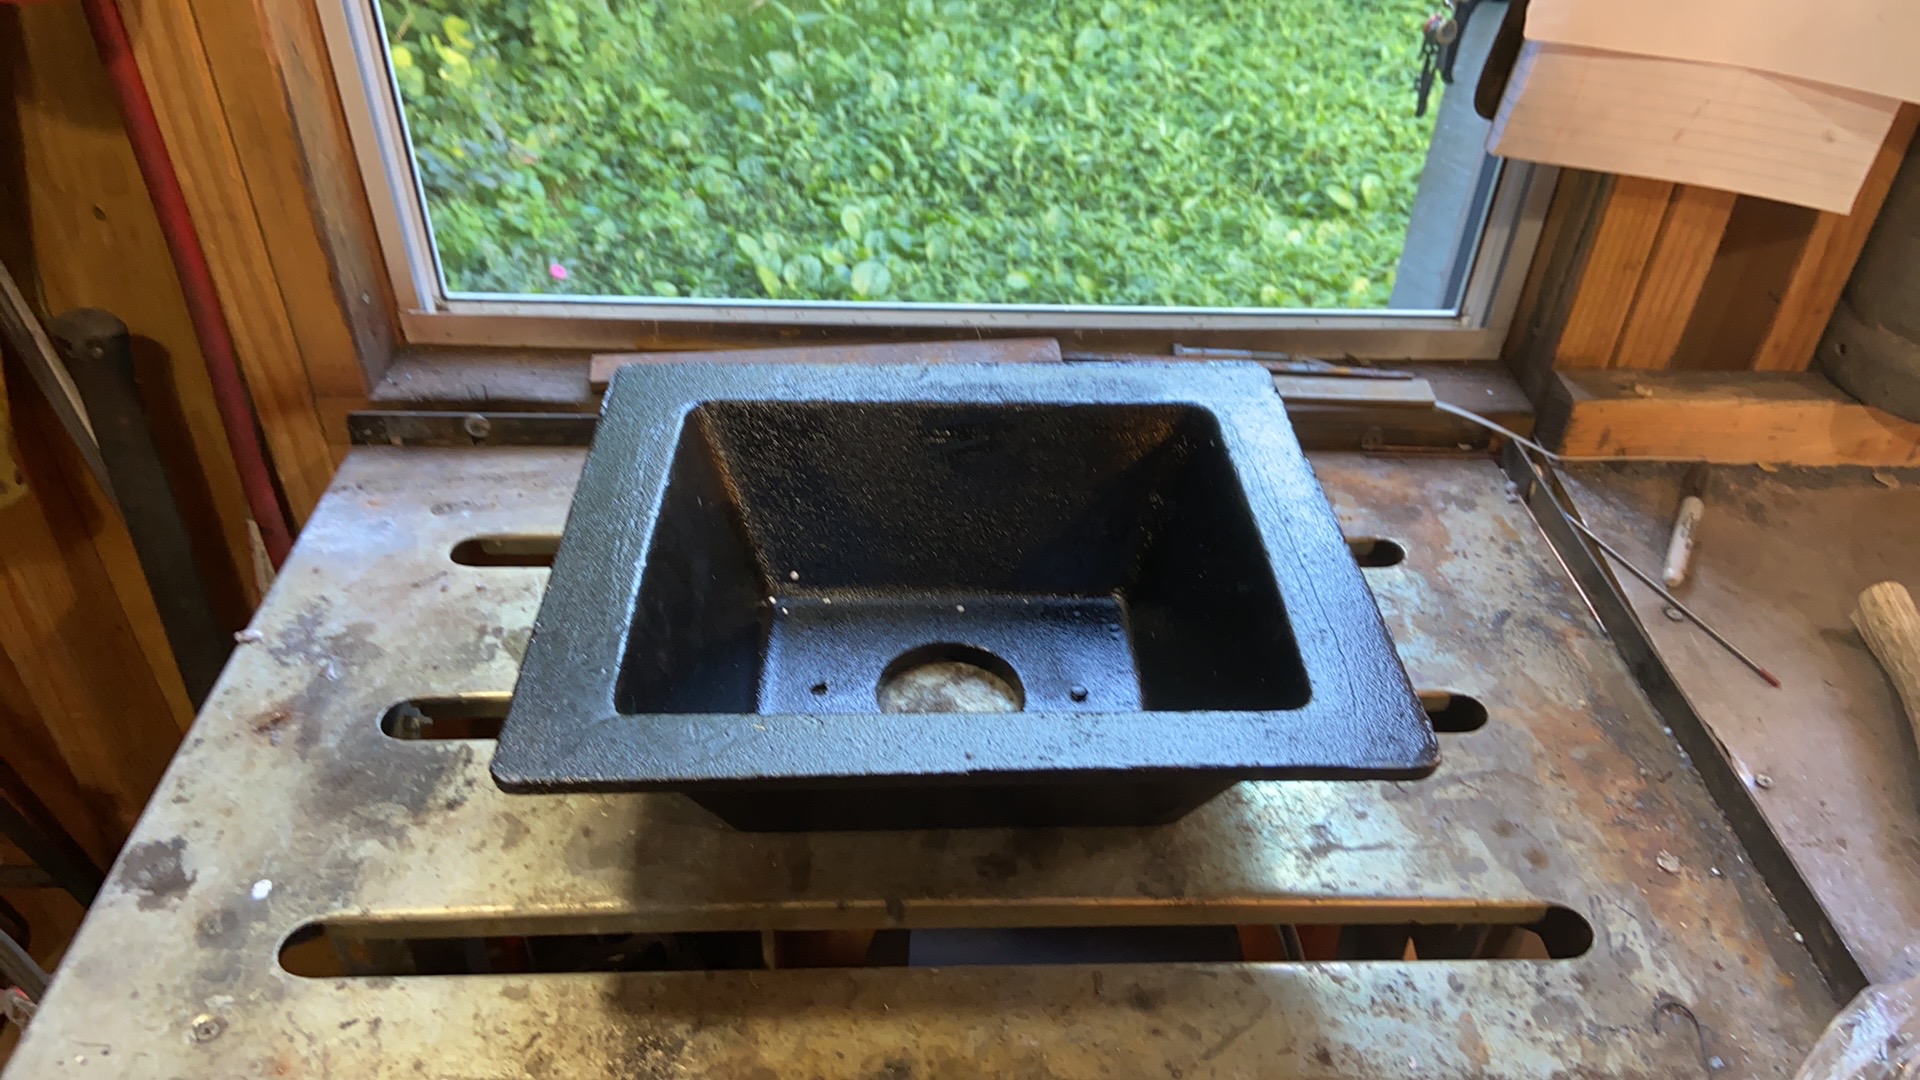
Upon further review and doing the measuring and trying to construct the guts of this fir pot; a pipe that attaches to your air source (blower or bellows,) Another straight pipe that drops down to all for the ash to go somewhere and the construction of a swivel to break up the clinkers (refuse from the coal and heated metal) and flap on the bottom of the whole thing allow all of that be dumped out into a bucket. The cost for the materials for all of this had me rethinking my plan to use the rotor and all that it entailed. Also if this is going to be my main SCA and period forge, I want this to be a one hundred percent on the money working forge. So, researched remade firepots and found exactly what I was looking for on Ebay for a very reasonable price. 


This fire pot had everything I needed and was mostly ready to install. 

Next I needed to figure out what was installing it into. At first I was going to build a structure out of steel, but that became expensive and time consuming. The maype a wooden table covered in cement backer board. I quickly nixed that. So I started looking around the shop at what I had and realized I had the perfect coal forge table right in front of me. A few years ago I purchased a welding table from Harbor Freight to do all my welding on.  That was one fine for a number of years. Two years ago I rearranged my shop and the big work table became the big welding table, cover with 1/4" steel plate. I moved all of my welding and cutting tanks over to the other table, leaving the old welding table to become what we like to call our Mathom table. How does something become a Mathom table you ask? Well you start putting things on it that have no other place and eventually you have a place for things that have no place that have nothing to do with each other. However I  digress....
I was prepared to sacrifice my Mathom table for the good of the coal forge. 


The great thing about this table was it was already cut in places and I just need to make a few more cuts to fit the new fire pot perfectly.

I used some to the 1/4" plate steel to cover the gaps in the table and that made it fit quite snug. 

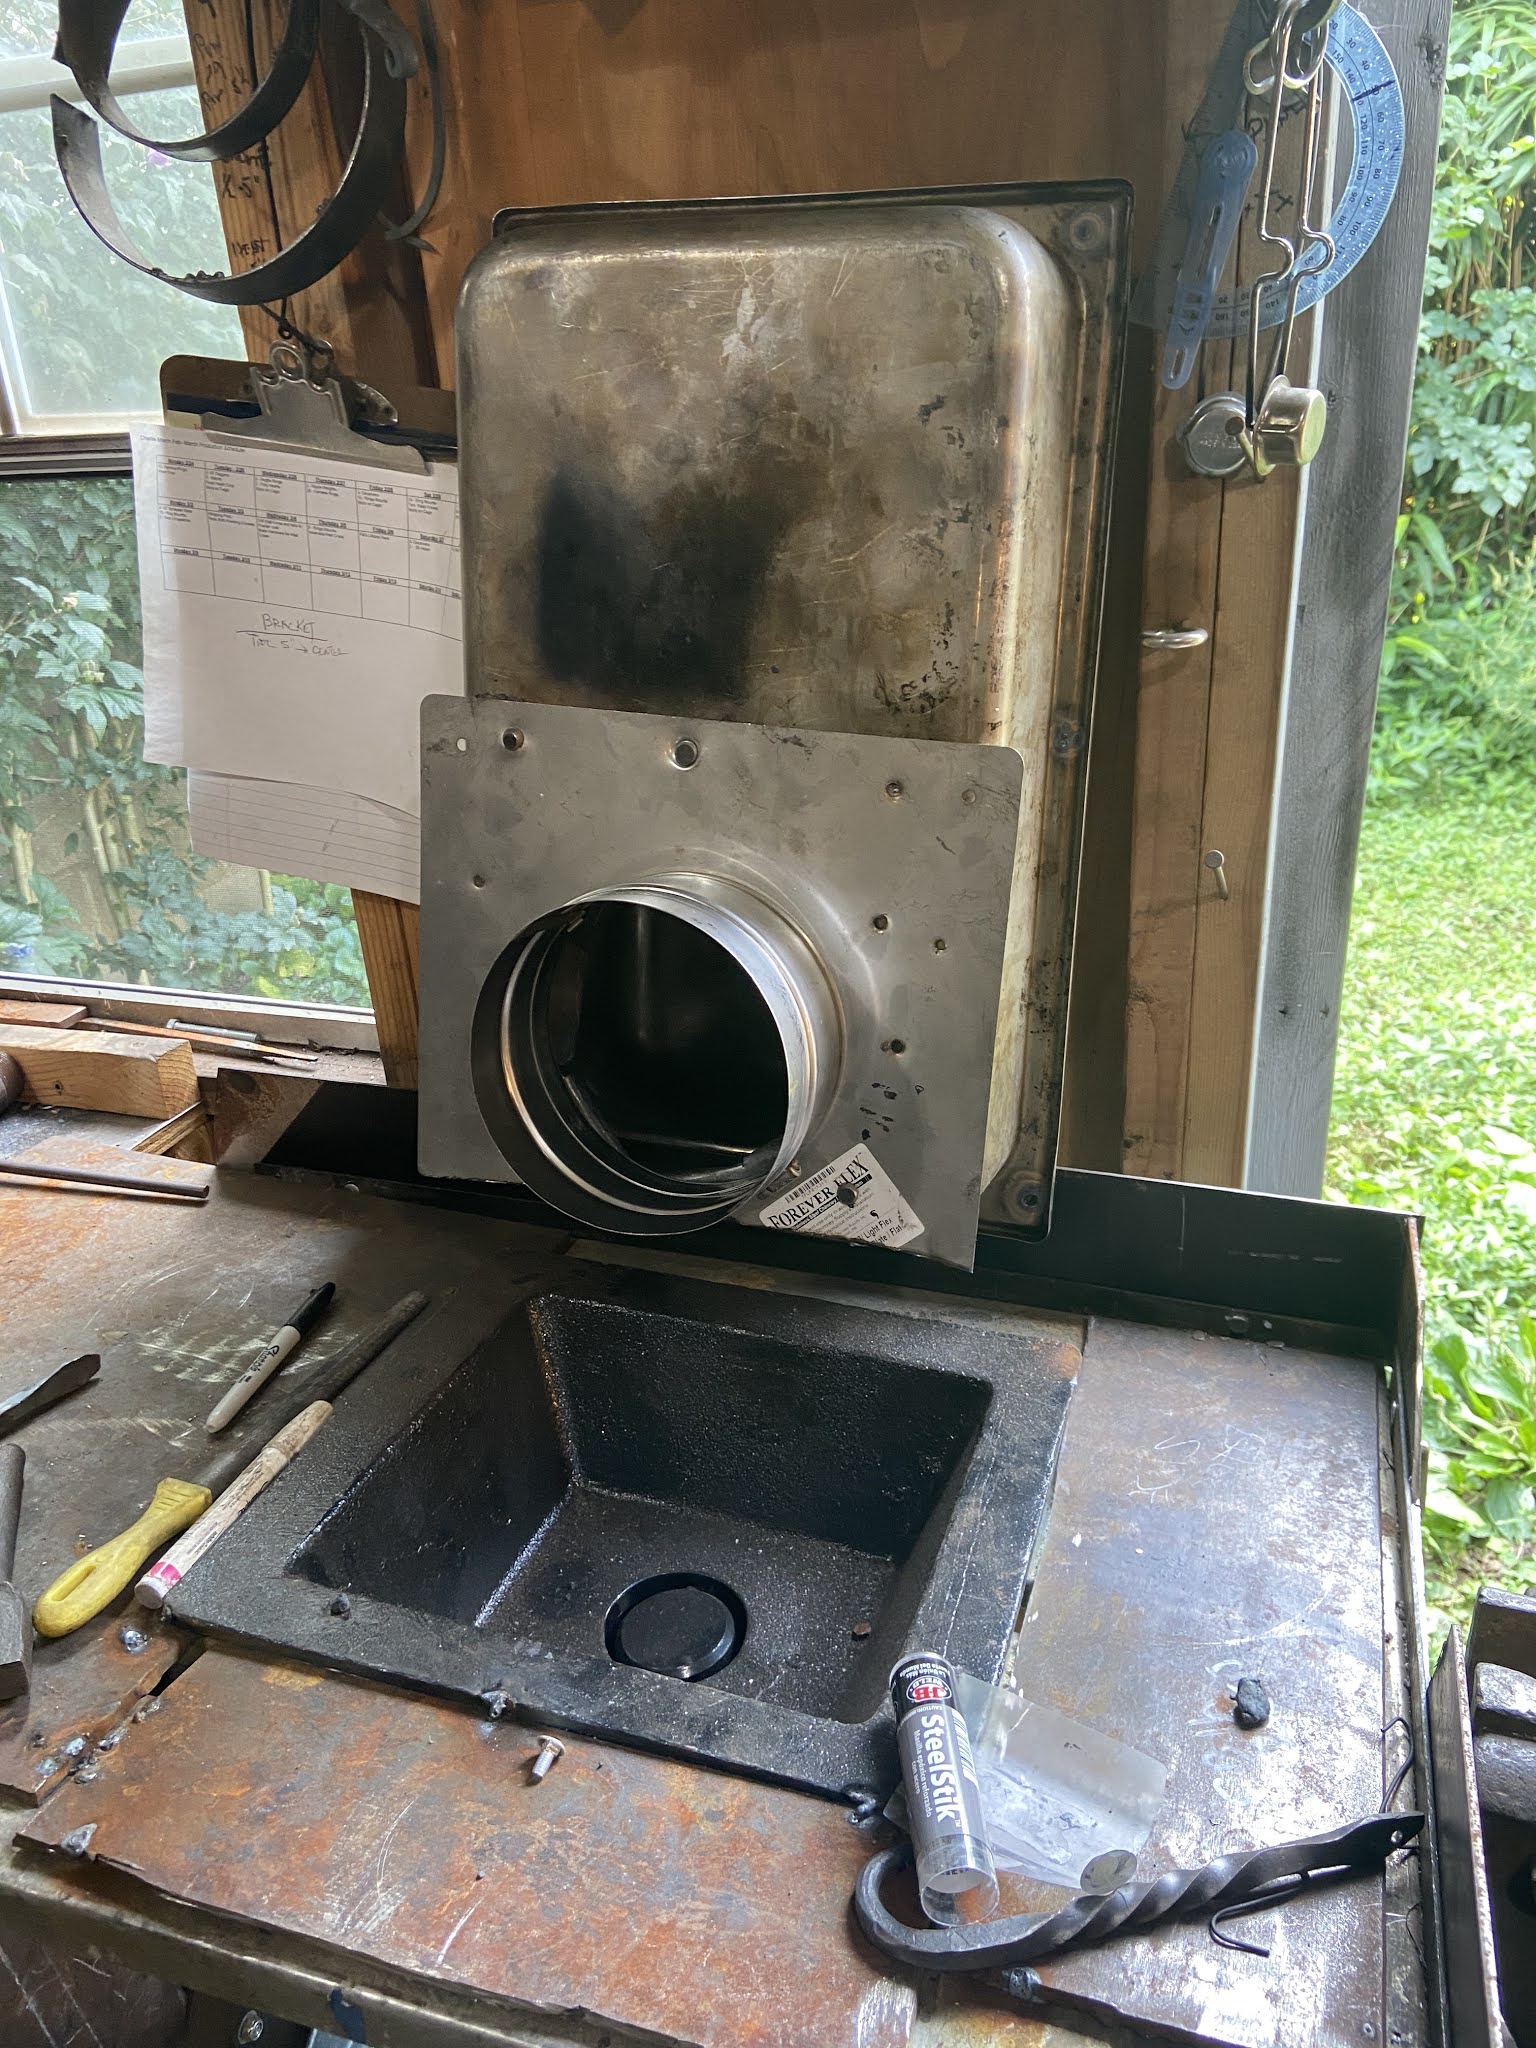
Next came the all important Hood and Chimney part of this project. A coal forge hood is a special type of device and its not something you can just go and pick up at the local Hardware store or Lowes. It's sole purpose is to draw the smoke from the fire pot and up and out a chimney keeping the shop smoke free. Most of these are built as large rectangles, some are fancy and have chamfered corners and looks all professional. I could not find what needed so on my third trip to the junk yard I found two stainless steel service pans (like from the Chinese Buffet). and some pipe collars and decided I could make the hood out of those.

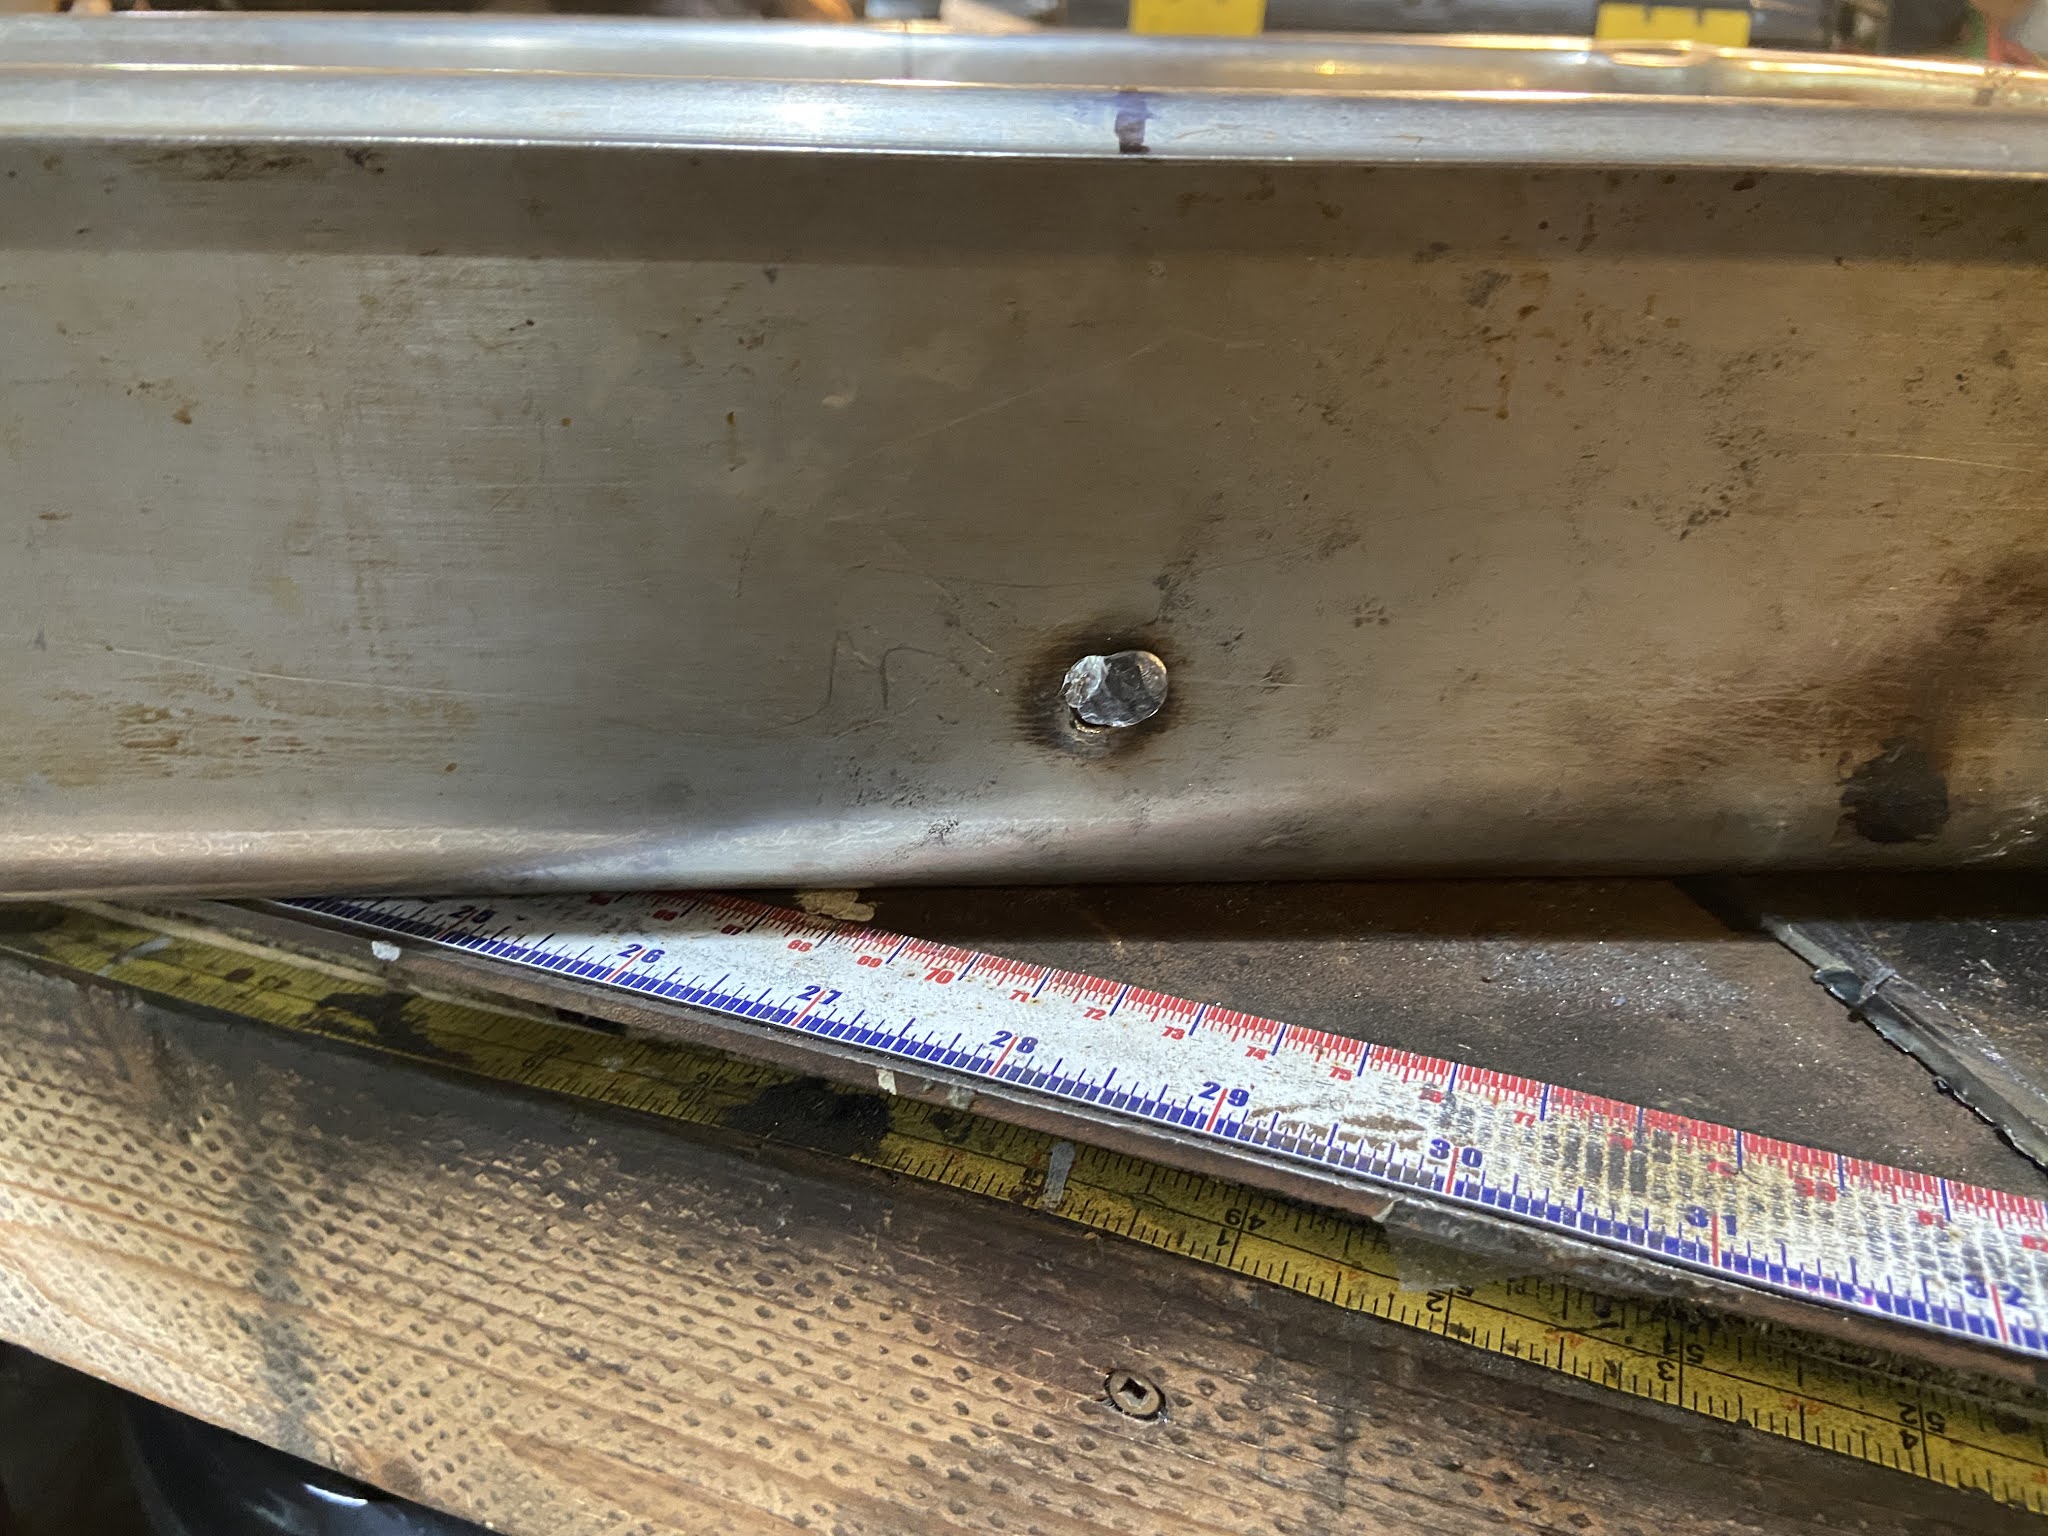
I took the first pan and riveted a flat piece of sheet metal across about two thirds of the way up. This is the all important smoke shelf. In all the videos on making hoods I watched they all said , "Do not forget the smoke shelf", this keeps the smoke from rolling back down into the  bottom chamber.  I then measure the pipe collar and cut a holes slightly smaller than the collar and then riveted both collars in place Then I tack welded the back to the front. I used High Heat JB Weld steel putty to fill the gaps


I used High Heat JB Weld steel putty to fill the gaps. I painted it with high heat black paint. Oddly enough without even thinking about it, the hood fit perfectly into the space between the two studs where it will live. 

Next piece of the Coal forge puzzle was the air source. A bellows would be period and very cool, however not practical in my small space and not for working alone.  That leaves a mechanical blower. There are a number of different kinds but all are either hand cranked or electric. Again, as I plan to work on this forge a lot, I was going to forgo the hand crank and go with an electric blower that I can control the flow on.  
LIFE LESSON HERE.
Sometimes you get what you pay for, and sometimes you get what you pay for and what you didn't pay for twice.
I did some online research and initially it appeared as though blowers are blowers and the are all in the $80 - $110 range on amazon.  I checked the price for a specially made coal forge blower from Centaur Forge, a company I have dealt withi in the past and their blower with a controller was $225. I didn't see the need to send that kind of money on what amounted to an over powered hair dryer (which many people have used to run their forge). 
Here us where the "you get what you paid for" lesson comes in. I bought a blower on amazon for $79, not a small chunk of change, They charged me for two and sent me two. I called amazon and got a refund for the one I didn't order. Before I could send that one back I plugged in the first one and it literally ate itself. So I plugged in the other one which apparently worked. I sent back the dead one. The next day while I was connecting the hose from the blower to the fire pot, that one I kept ate itself. As you can imagine, I was not happy. Back on the phone with Amazon, refund in hand I order a more expensive one for $125, one day shipping. I open the box and I recognize the same white plain box of the previous two crappy blowers. I just paid $125 for the same crappy blower. Back on the phone with amazon and yet another refund. By this time, $225 from centaur forge for a guaranteed quality blower and controller made a whole lot of sense, so, that is what I got. I should have just gone with the tried and true first. 


Last but not least was making the wall where the chimney would be fit non-flammable. To do this I cout out the space between the studs where the hood would sit and replaces it with cement backer board. I cut hole for the hood flange and fit it right through. I also covered the studs and the over head plate in backboard as well leaving nothing flammable to chance. 


Once the hood was secured hooking up the chimney was easy. I fabricated a rood bracket to keep the tack from moving and that finished the build. 


One important detail I forgot to mention, I am not running coal in this forge but natural lump charcoal. Unlike coal which smokes like crazy and needs to be kept consistently hot, Charcoal barely smokes at all and will stay lit until you douse it. 

So the inaugural burn was fun. The hood draw is perfect, and there was no smoke at all in th shop. 
I made a coal rake - number one tool needed  for a coal forge, and began the handle for coal shovel, number two important tool for a coal forge.


The process was long and took months, as I was making this while finishing commissions and other work. 

I am pleased with the end result. Except for the fire pot and the blower, everything was either fabricated by me or retro fitted by me. Also the whole rig I portable.